
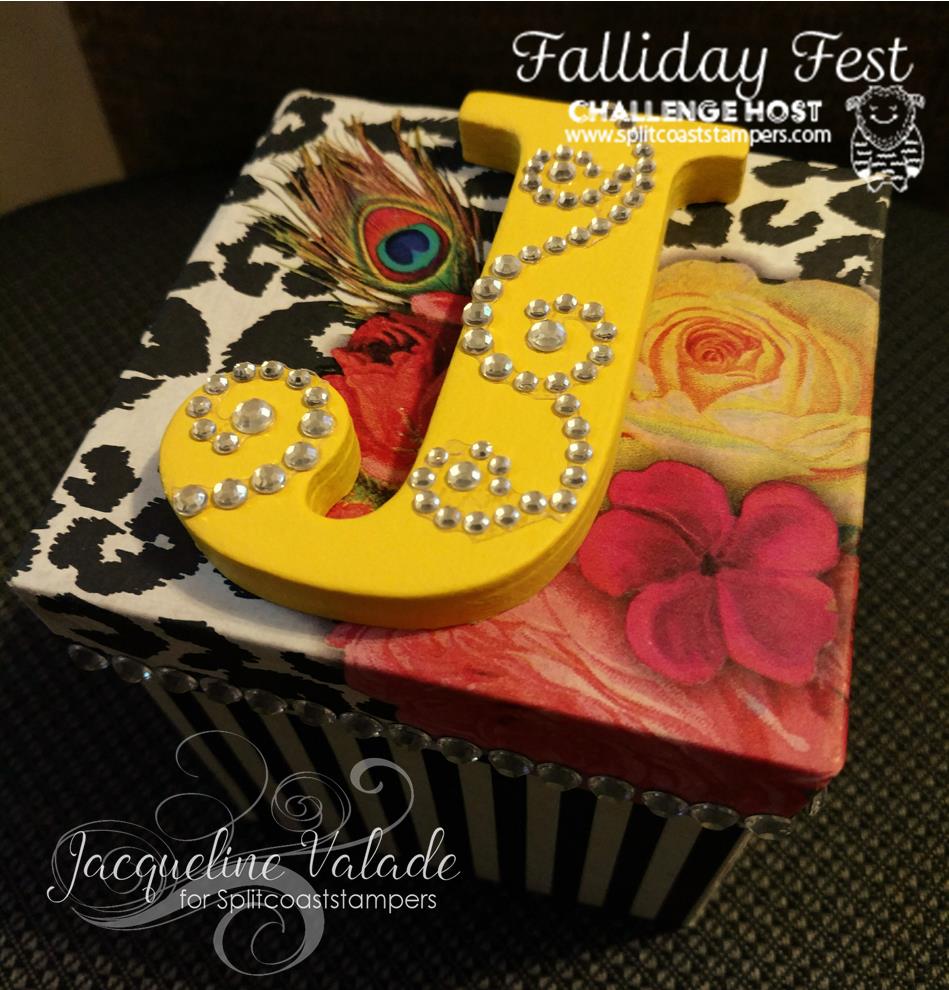
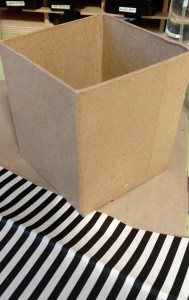
Falliday Fest continues on Splitcoast Stampers and today I am hosting a challenge called Monogram It! Participants are asked to create monogrammed cards or gifts. This little monogrammed box is what I made for my challenge example. I started with a plain little chipboard box (about 3 1/2″ square) that I covered with decoupage paper.
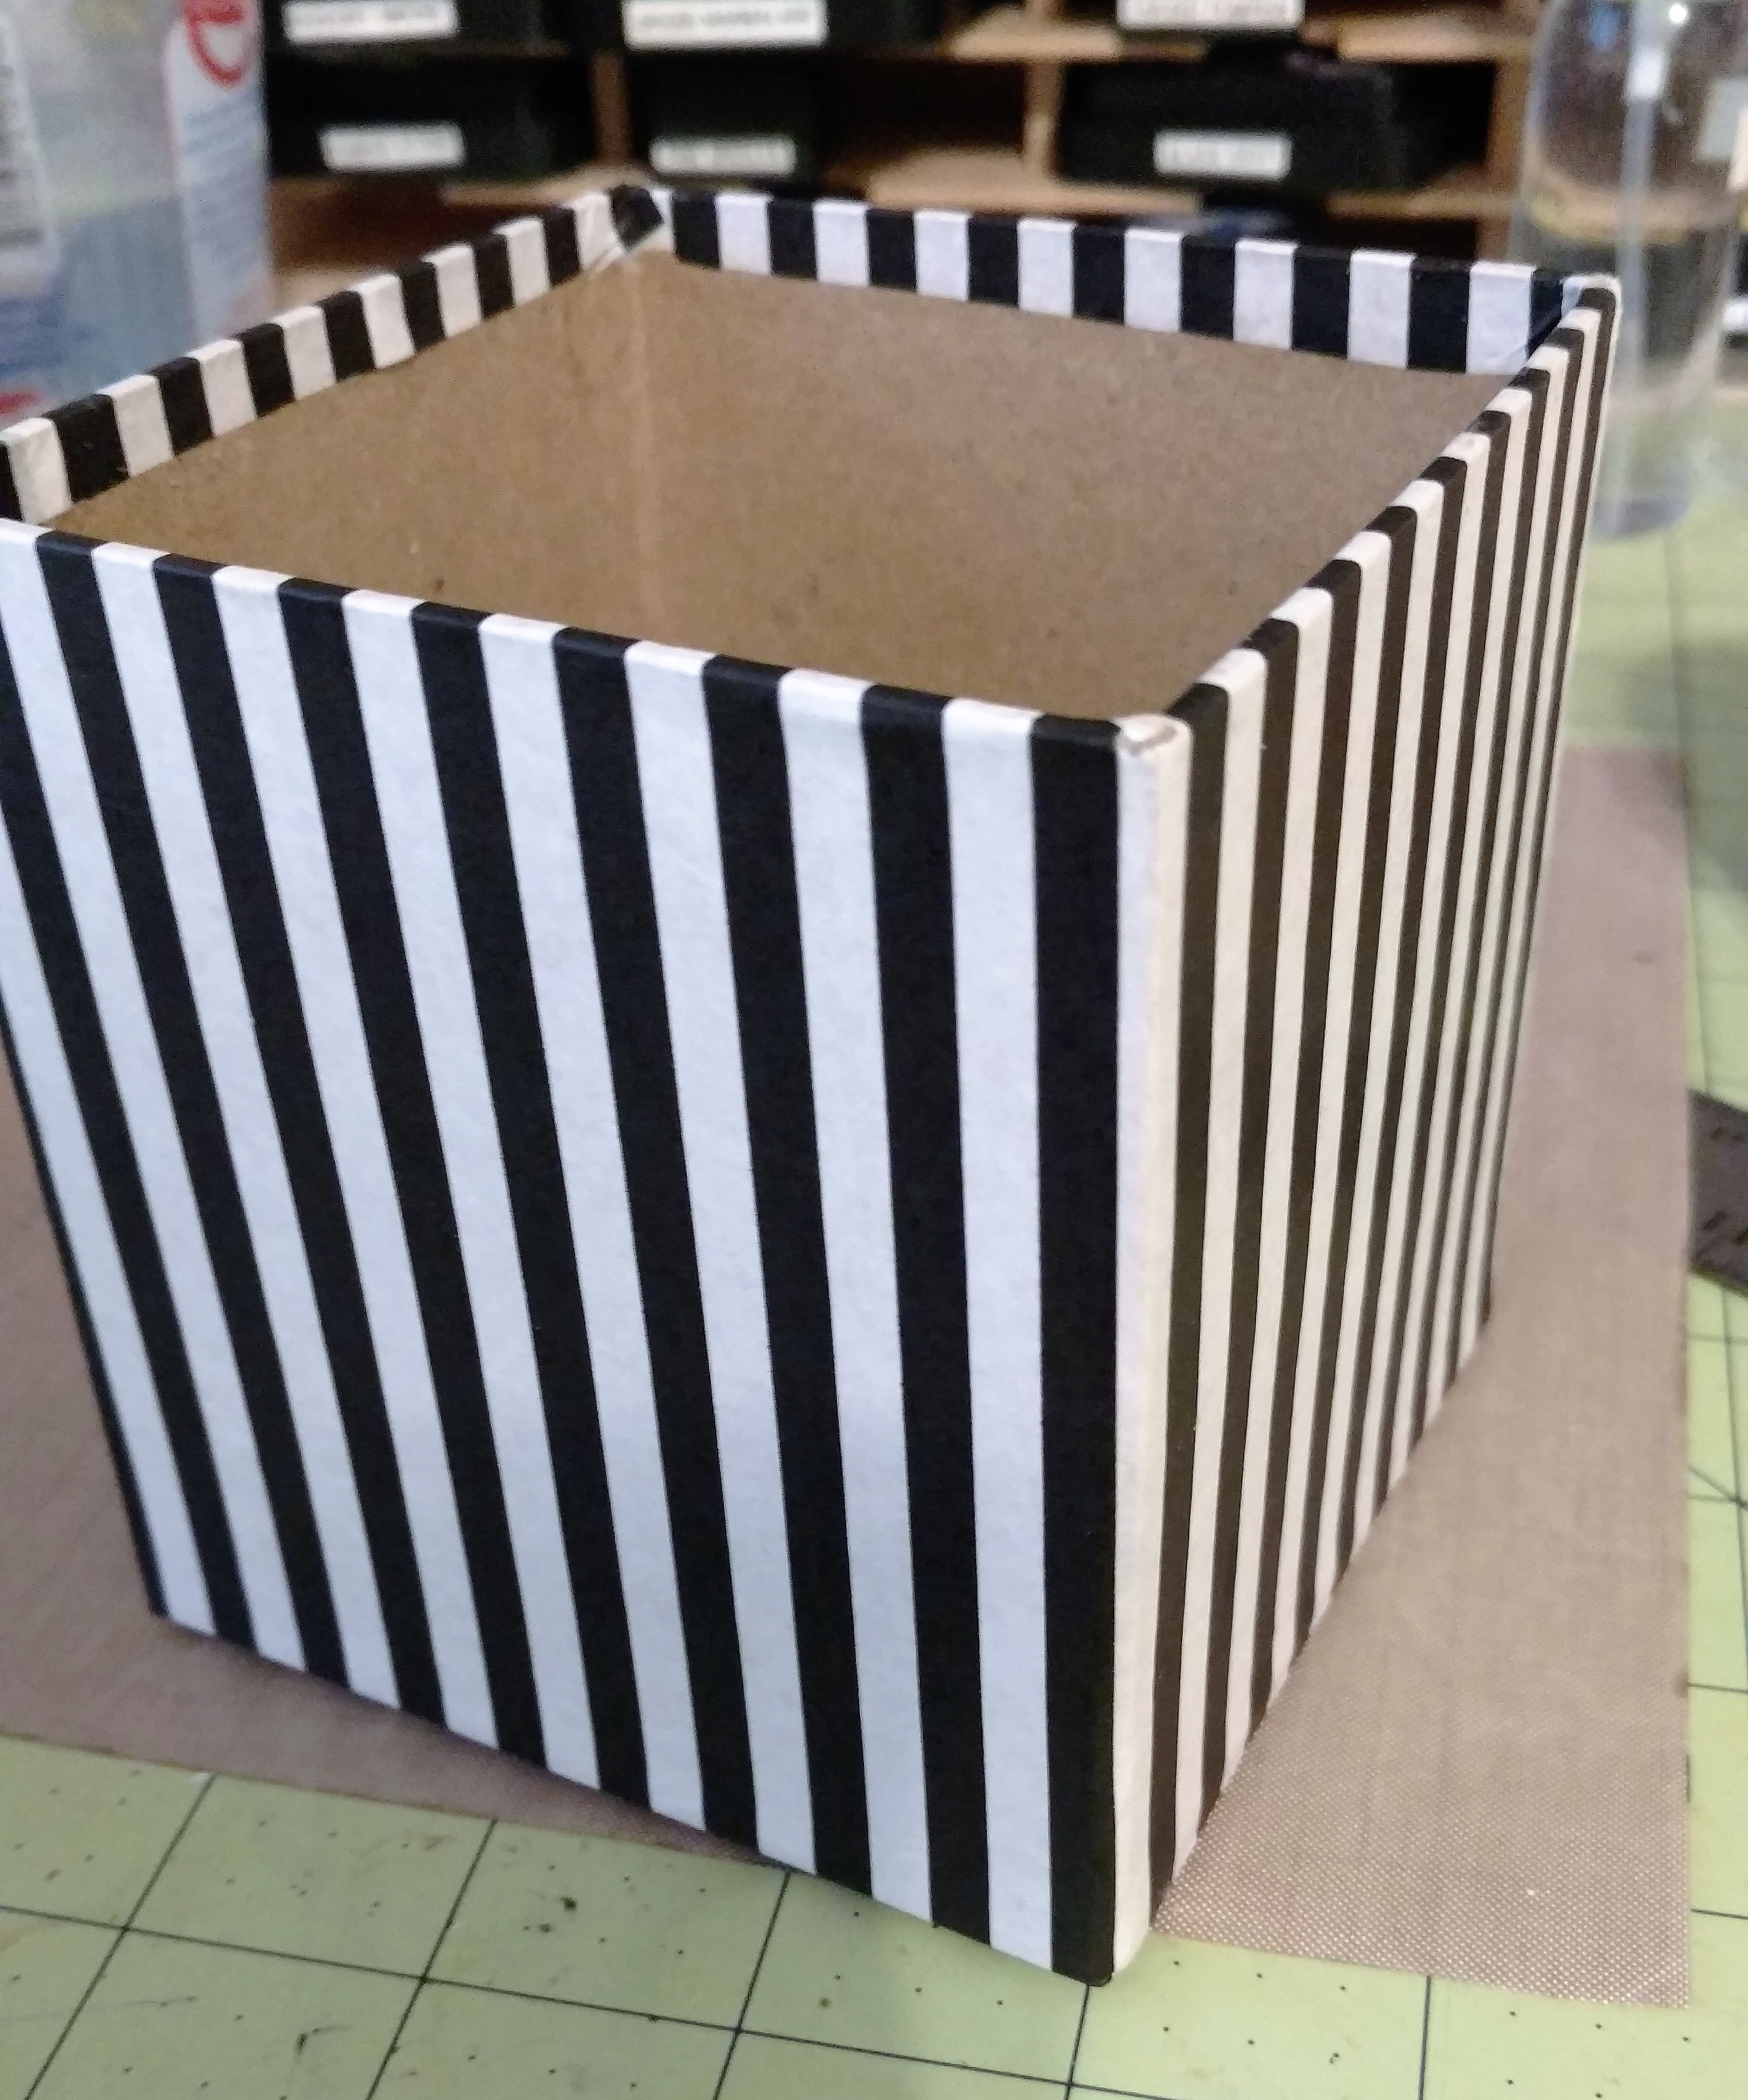
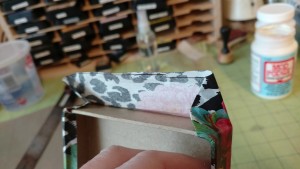
Mod Podge was used to adhere the decoupage paper to the box. I folded the flaps over on the bottom and added a piece of felt to finish it. On the top, I folded the edges over into the inside of the box.
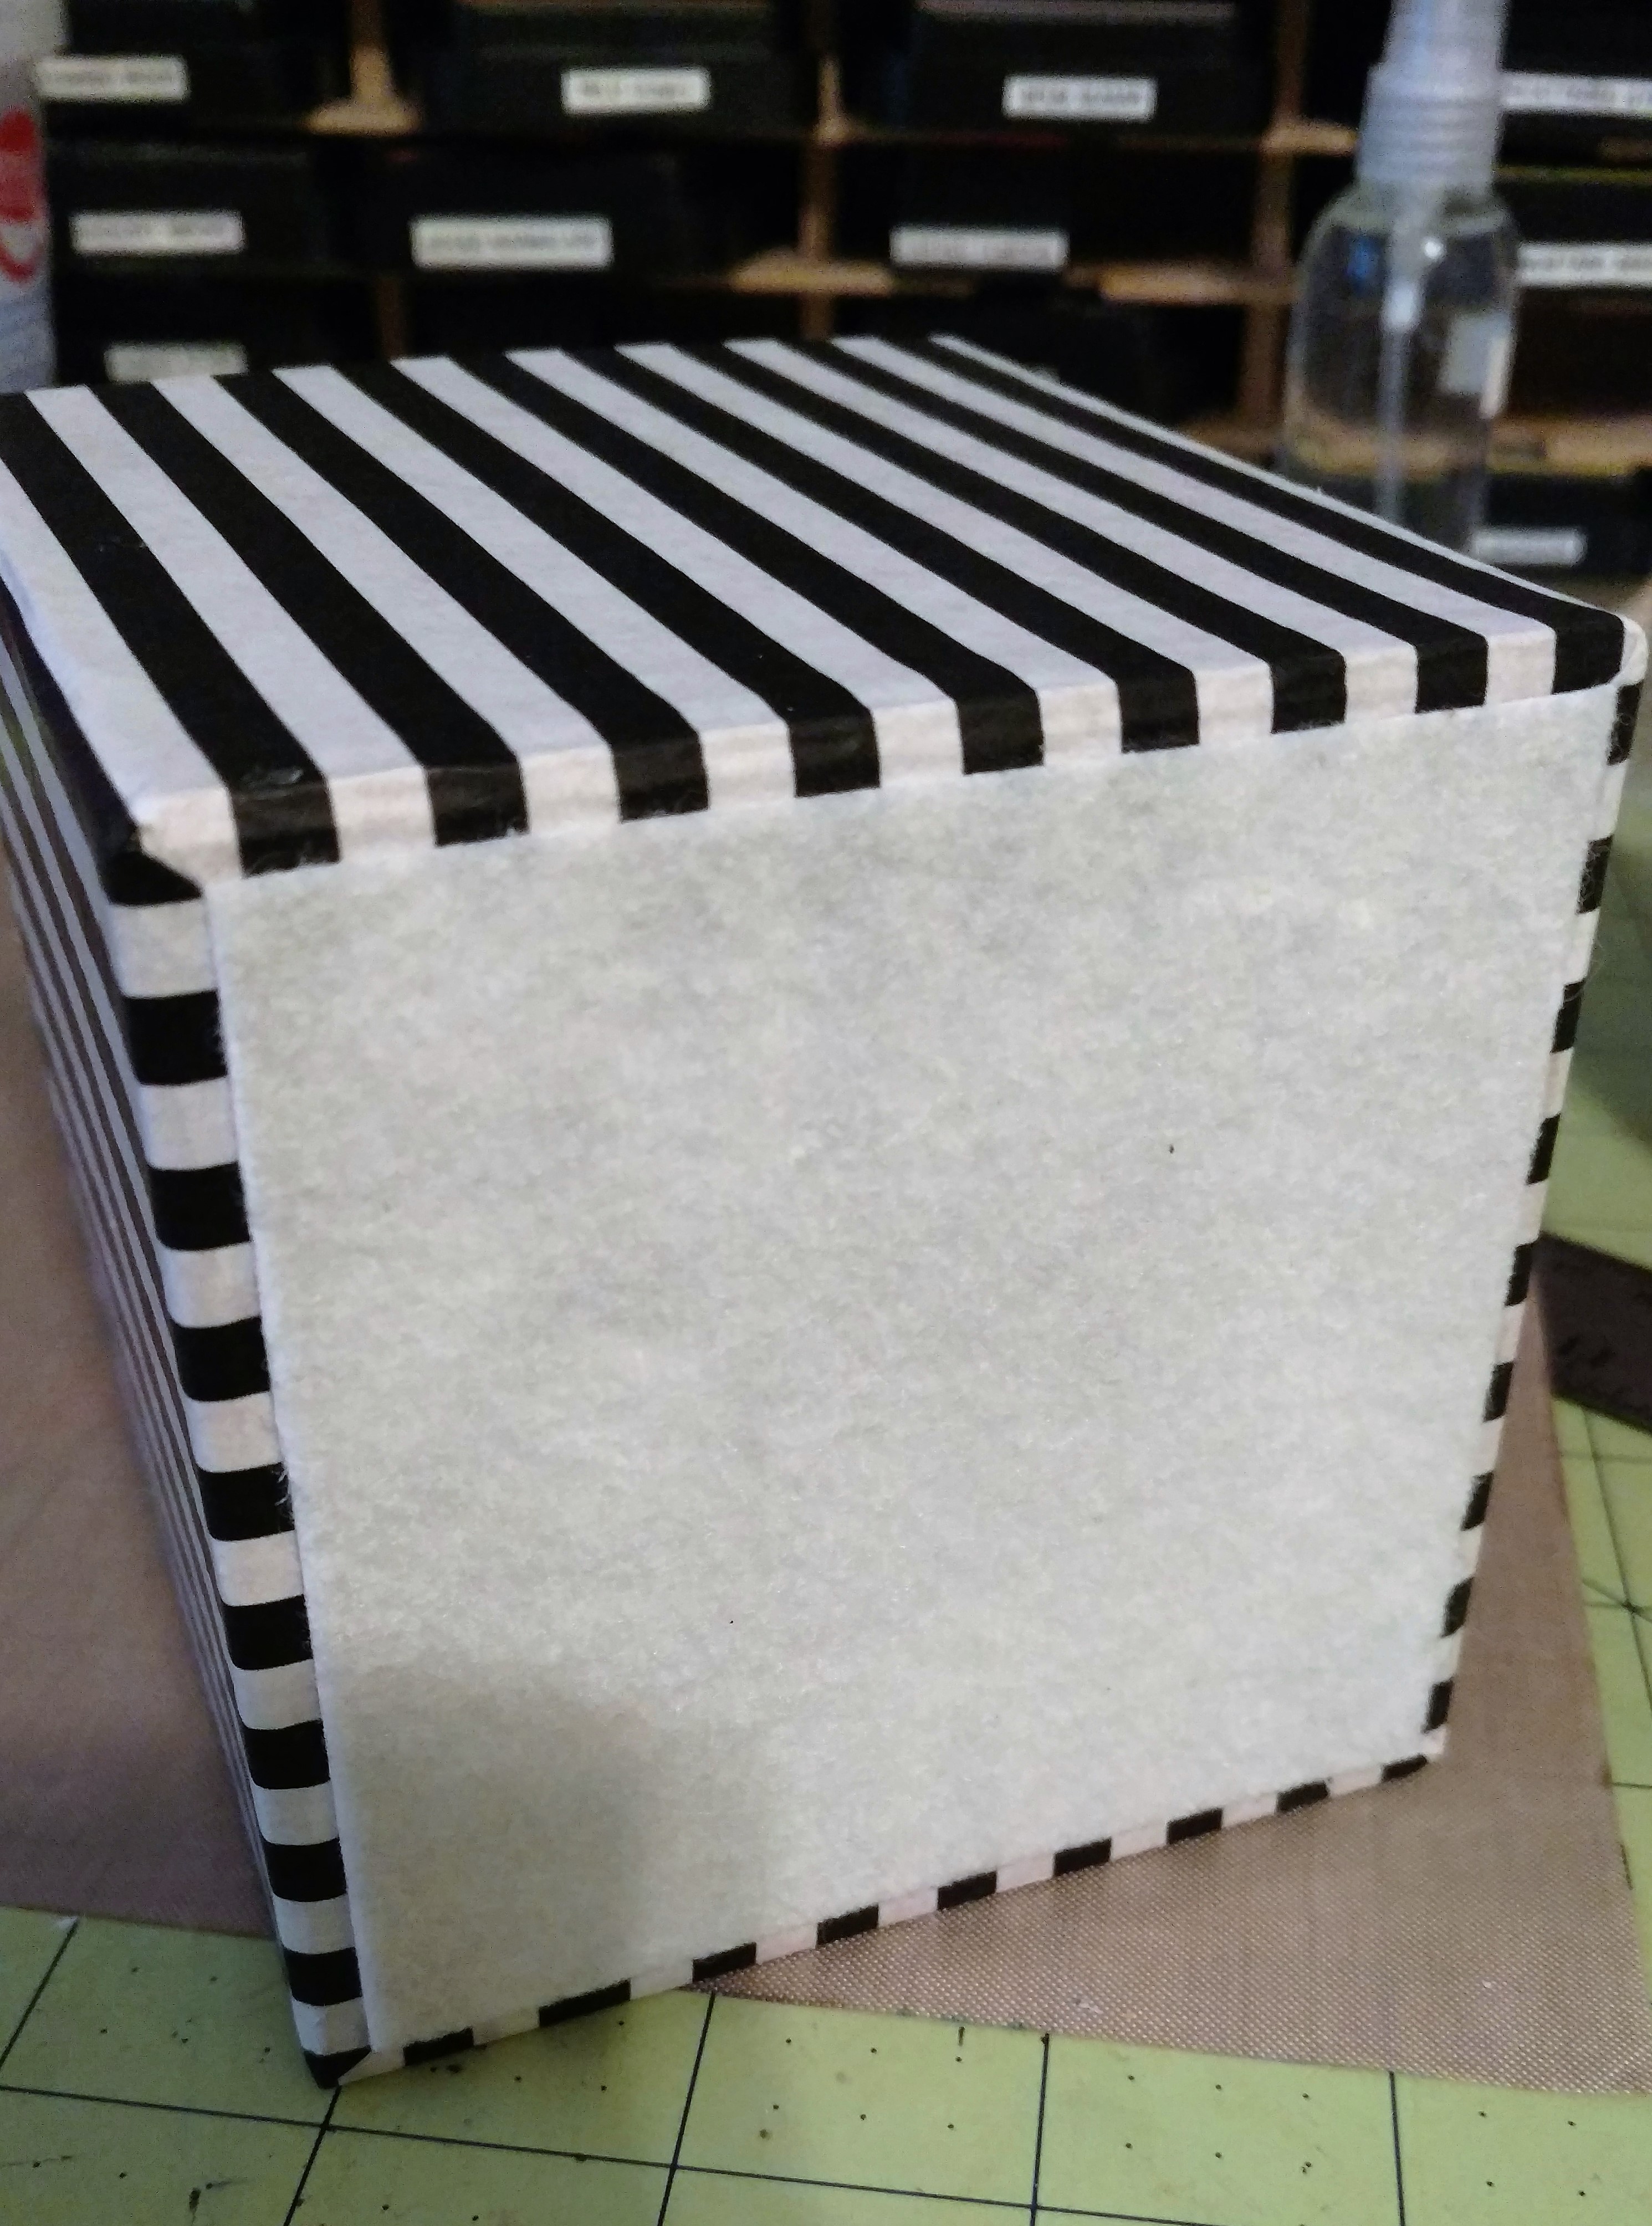
For the top, I used a piece of coordinating paper that was cut to approximately 6″x6″. I placed the box top in the center and used a pencil to trace the box top so I’d end up with even flaps.

Before adhering to the box top, fold the corners in to where the pencil lines intersect.
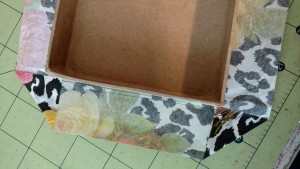
I started by adhering the paper to the top of the box, then started folding over the sides. When I got the corners, I folded the flaps under again so they’d lie smoothly when I folded them over.
After I had all the paper on and it was dry, I added a chipboard letter that was painted with Anita’s craft paint (#11192 Macaroni Yellow). Once the paint had dried, I added rhinestone flourishes to add a little bling. There is also a row of rhinestones along the perimeter of the box top.
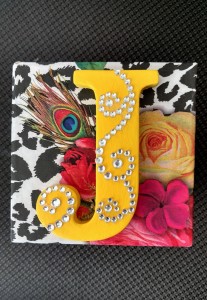

These personalized boxes make for a cute gift or it can even be used as the packaging for a gift. I hope you’ll check out my challenge on Splitcoast Stampers and join in the fun. I’d love to see your creation added to the gallery.


One response to “Monogram It!”